An “Add Donation” button can be embedded on your Shopify store to give customers the option to add a dollar donation (or any amount you wish) toward your cause when making their order. You can embed the button anywhere on your store, however the shopping cart is the most common place to add it. This article will explain how to add one to your shop.
Create the Product
- The title, description, and first image will appear in the donation block, so be sure they are descriptive of the cause that the customer is supporting. (example below)
- Set the price to the donation amount (e.g. $1)
- Uncheck “Charge taxes” on this product
- Begin SKU with “plg-donate”. You can end the SKU with whatever you like (e.g. plg-donate-epic-foundation)
- Inventory policy: Don’t track inventory (this is the default setting)
- Uncheck “This is a physical product” in the Shipping section
- Click “Save Product”

Get the Handle
Next, you will need to get the handle of the product. You can find the handle by viewing the product after you’ve created it, and copying the last part of the URL after the last slash (/).


Embed the Item
Then you will need to edit the code for your theme. First, you will need to put the following script into the head of your theme (explained below).
<script src="https://hello.pledgeling.com/assets/shop/donation/button.js" async></script>
Once you find the snippet and location within your theme where you want to put your donation button, paste the following line into it and replace {handle} with the handle for the product that you got in step 2.
<div data-donate-via-pledgeling="{handle}"></div>Matching the customer's donation
If you would like to match the customer's donation, you can add the attribute data-match-up-to to the embed code specifying up to the amount you would like to match. For example, if we wanted to match up to $10, the embed code above would change to the following.
<div data-donate-via-pledgeling="{handle}" data-match-up-to="10"></div>To edit the code:
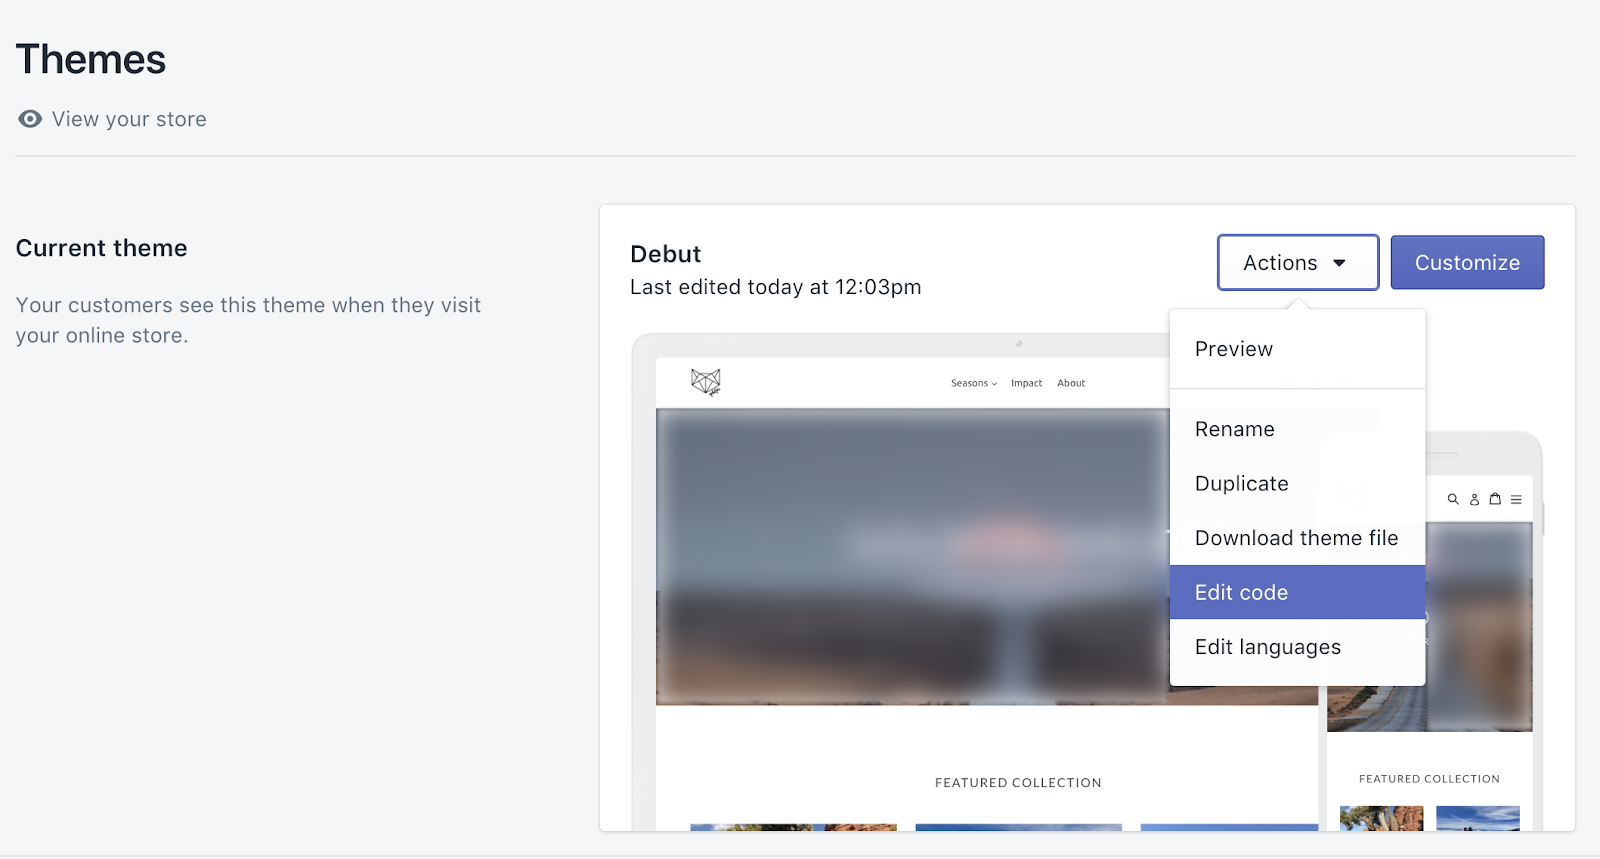
- Go to Online Store settings in sidebar
- Click the “Actions” button and select “Edit Code”
- First we will find the <head> in our theme (usually located in the Layout section in a file called theme.liquid).

- Then we will paste our script before the ending </head> tag.

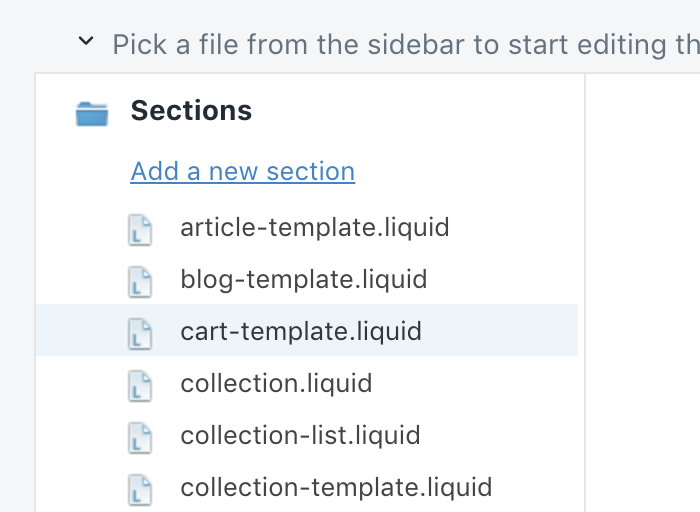
- We are going to add the button to the shopping cart page, which is located in a file called "Sections/cart-template.liquid" (but you can add the button to any file you choose).
- Let's add the button above the shopping cart contents. To locate the Sharing buttons, run Ctrl+F (on PC) or Cmd+F (on Mac) and type “/cart”. Then paste your embed code above it. This is how it looks on our store:

- Click the Save button, and Preview your Add Donation Button on your shopping cart page.
- If you are having trouble embedding your Add Donation Button, we are happy to help. Send an email to shopify@pledgeling.com with the subject line: "Integration Help."